How to Use Backyard Wireless Grill Thermometer (Step-by-Step Guidelines)
When it comes to grilling, you know how crucial it is to get your meat at the right temperature. A backyard wireless grill thermometer can help you achieve perfect results every time without having to hover over your grill. Simply insert the probe into your meat, set the target temperature, and monitor it from a convenient location using the receiver or your smartphone. In this article, we’ll go over the steps to use your backyard wireless grill thermometer for delicious, perfectly cooked meals every time.
How Do You Use Your Backyard Wireless Grill Thermometer?
In nice weather, many people like to grill outside in their backyard and enjoy cooking. The biggest difficulty when barbecuing is usually getting the meat cooked to the right degree–whether that’s not cooked enough or overcooked. To make sure your meat is cooked correctly, using a wireless grill thermometer can be critical. If you’re planning on grilling in your backyard, a wireless grill thermometer can be an essential tool to ensure your meat is cooked to perfection. Here is a step-by-step guide on how to use it.
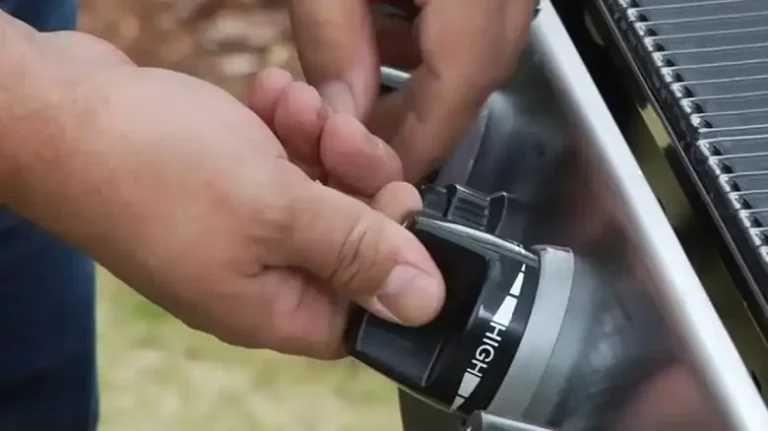
Step 1. Thermometer Setup
You’ll need to slide the probe into the food and then position the thermometer on the grill to get the process going. Ensure the thermometer display is outside the grill and near the transmitter to get an accurate temperature reading.
Step 2. Transmitter Connection
The transmitter is the device that sends the temperature readings to the display unit. Connect the transmitter to the thermometer probe and switch it on.
Step 3. Switch on Display
After turning on the transmitter, ensure the display unit receives temperature readings from it. It may be necessary to sync some display units with the transmitter before they can receive readings.
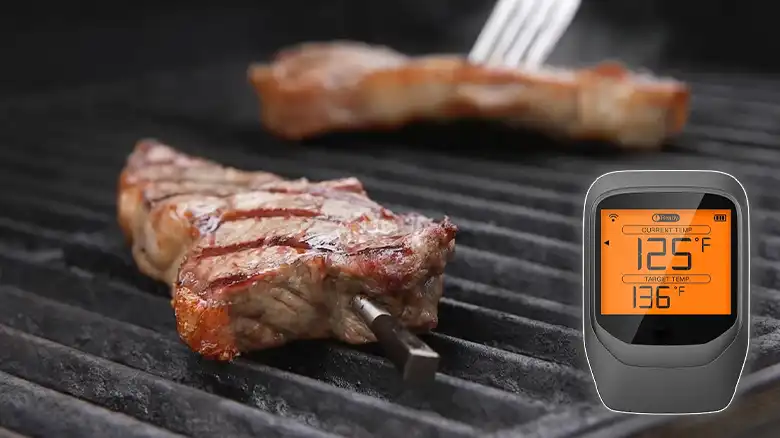
Step 4. Temperature Monitoring
Monitor the temperature readings indicated on the grilling appliance while in use. If the temperature fluctuates and goes above or below the desired range, modify the grill’s heat accordingly. The thermometer will emit an audible or visible signal if the temperature surpasses the set limits.
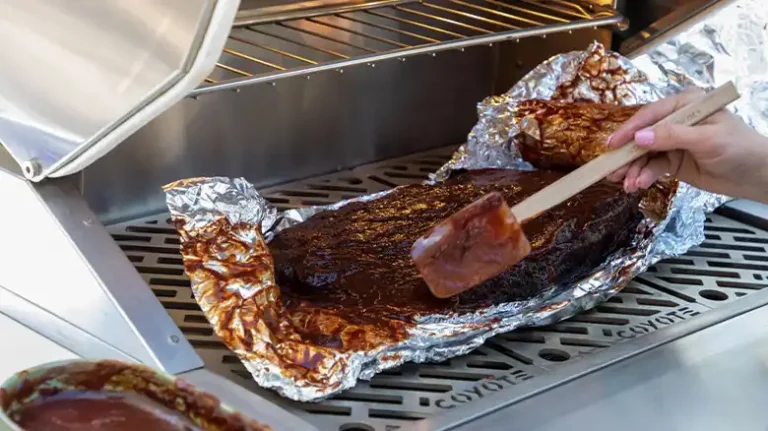
Step 5. Take a Look at the Meat
Before serving, it is essential to allow the meat to sit for a few minutes after it has attained its preferred heat. Remember to completely sanitize the thermometer probe before reusing it.
Frequently Asked Questions And Answers
Why Should I Use a Wireless Grill Thermometer?
A wireless grill thermometer can help you cook meat to the correct temperature, essential for food safety and flavor. It can also keep your time by manually removing the want to test the meat’s temperature.
Can I Use a Wireless Grill Thermometer for Other Types of Cooking?
You can use a wireless grill thermometer for cooking, baking, roasting, or smoking. Just make sure to alter the temperature range on the thermometer to a suitable degree for the cooking method.
How Do I Clean My Wireless Grill Thermometer?
Clean the thermometer probe thoroughly with warm soapy water and a soft cloth after each use. Do not submerge the probe in water, and avoid getting water on the transmitter or display unit.
Conclusion
If you use a wireless grill thermometer, you can ensure your meat is always perfectly done. Following these simple steps, you can make the most of this handy tool and enjoy delicious grilled meals in your backyard. Whether you’re a seasoned grilling pro or a beginner, a wireless grill thermometer can be an excellent investment for ensuring perfectly cooked meat every time.
![Do I Need a Grill Topper? [Explained]](https://www.dominatekitchen.com/wp-content/uploads/2023/03/Do-I-Need-a-Grill-Topper-768x431.webp)
![[EXPLAINED] Do You Need to Clean a BBQ After Every Use?](https://www.dominatekitchen.com/wp-content/uploads/2023/05/Do-You-Need-to-Clean-a-BBQ-After-Every-Use-768x431.webp)

![[ANSWERED] How Long Does a Grill Last?](https://www.dominatekitchen.com/wp-content/uploads/2023/05/How-Long-Does-a-Grill-Last-768x431.webp)