How to Convert Electric Stove to Gas? A User-Friendly Guide
I’ve always preferred the responsive heat and precise control of a gas stove over the electric variety. So, when I decided to upgrade my kitchen, I knew I wanted to make the switch. Converting from an electric stove to a gas stove is a significant project, but it’s well worth the effort if you’re a cooking enthusiast.
Things to Consider Before Converting Your Electric Stove to Gas
Before taking on this project, there are some important factors to consider:
- Cost – Check with contractors for estimates. Converting can cost $500-1000+ for materials, labor, permits, etc.
- Gas hookup – Confirm you have access to a gas line with adequate pressure and proper size for the stove. Running a new gas line is a big added expense.
- Venting – Adequate ventilation has to be installed to remove combustion byproducts. An upgraded ventilation hood may be needed.
- Anti-tip device – Gas stoves are heavier so you may need an anti-tip bracket for safety. This requires securing it to the wall studs.
- Electrical – You’ll need a 120V outlet at the location to operate lights, clocks, etc. Factor in potential electrical upgrades.
The Step-By-Step Process of Converting to a Gas Stove
Once you’ve decided to tackle the project, here is the basic process:
- Turn off the electrical and gas supply. Safety first! Make sure all power/fuel sources are shut off at the breaker box and valves.
- Disconnect and remove the old electric stove. Detach the electrical connections, anti-tip bracket, vent, and ductwork. Use caution when moving the old unit out.
- Install gas supply line. Run a hard steel or copper line to the stove location and set up a shut-off valve according to the code.
- Install anti-tip bracket. Measure and bolt a heavy-duty anti-tip bracket securely into the wall studs. This keeps the new gas range from tipping.
- Set up electrical supply. Run and connect 120V electrical wiring for the stove’s light, clock, igniters, etc per manufacturer instructions.
- Install ventilation hood. Gas stoves need strong external ventilation. Install hood ducted outside meeting code requirements.
- Move the new gas stove into place. Slide stove gently into position, aligning with gas and electrical connections.
- Connect gas supply. Using extreme care, attach the gas line to the stove’s fuel inlet using the right adaptors and pipe sealant according to local code.
- Test for leaks. Turn on the gas supply and spray all connections with soapy water to check carefully for bubbles/leaks. Fix any leaks found immediately.
- Complete electrical connections. Attach the stove’s electrical lines to the power supply wires according to the manufacturer’s directions.
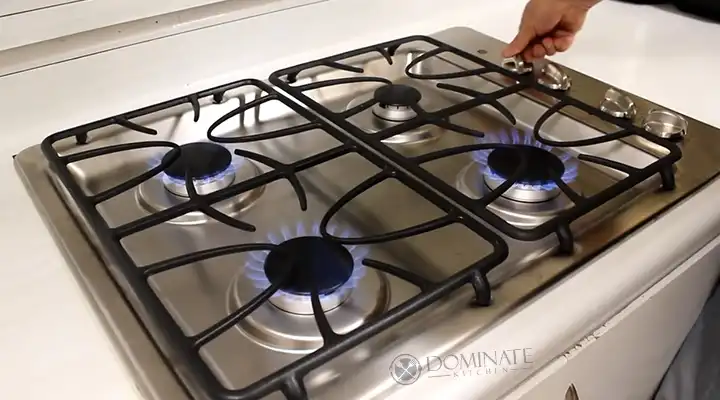
- Test ignition and burners. Turn on the gas and electrical to pilot the igniters, test flame levels, and verify all burners are working properly.
And that’s it – after a final check for leaks and other safety issues, your new gas range is ready to cook on! Enjoy the benefits of gas cooking.
The Advantages of Converting to a Gas Stove
Here are some of the key reasons for switching over to gas:
- Better temperature control – Gas burners provide precise, instant heat adjustment compared to electric coils.
- Higher heat output – Gas stoves can boil water faster and reach higher heat levels for optimal searing and stir-frying.
- Lower operating costs – Using natural gas for cooking is often cheaper than electricity.
- Flexible burner layout – Gas stove tops allow more configuration options to fit pots and pans.
- Better simmering ability – Gas flames can be turned down very low for delicate simmering and sauces.
- Continuous grates – Many gas stoves have grates covering all burners for easy sliding of pots around the cooktop.
- Faster cooking overall – The higher BTUs and heat responsiveness of gas speed up cooking times compared to electric ranges.
Pro Tips for Converting Your Stove Successfully
Based on my experience, here are some pro tips:
- Hire a certified appliance installer if not doing it yourself. Conversion requires expertise in gas systems.
- Add a gas line shutoff valve close to the range for easier maintenance.
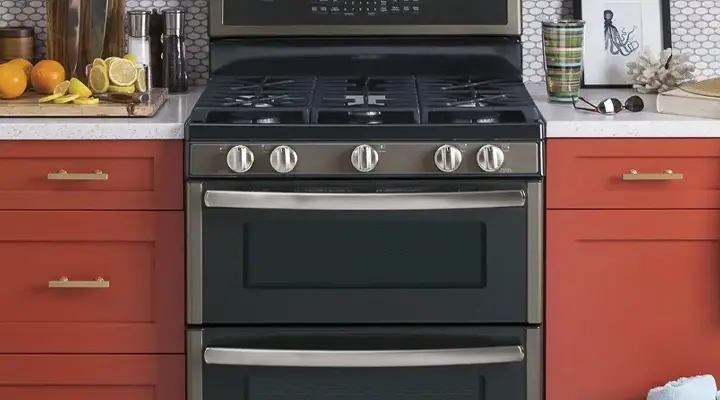
- Choose a stove equipped with front control knobs to avoid having to reach over hot burners.
- Opt for a model with sealed burners for easier cleaning. Open gas flame burners are harder to keep clean.
- Invest in a good hood with at least 600 CFM airflow to handle gas combustion byproducts and heat.
- Use black iron or copper piping for the gas line – never plastic. And apply pipe sealant to all joints.
- Keep the instruction manual handy during the installation for all specifications and safety guidance.
Alternatives to Converting Your Current Stove
Another option is to purchase a new freestanding gas range rather than converting your existing electric unit. This avoids the hassle and costs of converting. Just make sure your kitchen can accommodate the size.
You can also consider switching to a gas cooktop combined with a separate electric oven. This gives you the precision of gas burners for stove-top cooking while keeping your preferred electric oven.
Q: Is it difficult to light a gas stove compared to electric ignition?
A: Most new gas ranges have electronic igniters that light burners automatically with the turn of a knob, just like electric models.
Q: Can I reuse the existing kitchen stove hood?
A: Maybe, but confirm it’s rated for use over a gas range. You also want a strong airflow of 600+ CFM or more.
Q: Do gas stoves need electricity too?
A: Yes, you need a 120V electrical hookup for the clock, oven lighting, and ignition components even though the cooking fuel is gas.
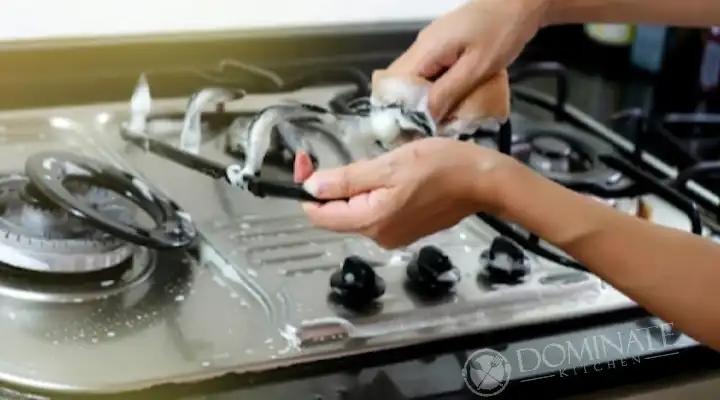
Q: What maintenance is required for gas stoves?
A: Periodically inspect the gas fittings for leaks using a soapy water solution. Also, clean the burner caps as needed to prevent clogging.