How to Light Oven Pilot Hotpoint | Just 5 Steps
Do you own an older Hotpoint oven without electronic ignition and need to light the pilot light? Don’t worry; it’s not as complicated as it sounds. In this step-by-step guide, we’ll show you the simple process to safely and efficiently light the pilot light in your Hotpoint oven. We’ll also address common questions and concerns, ensuring you have all the information you need to get your oven up and running. So, let’s get started!
Steps for How to Light Oven Pilot Hotpoint
This is a little more difficult, but it’s not rocket science. So you should get it easily that is why we prepared a step-by-step process to follow.
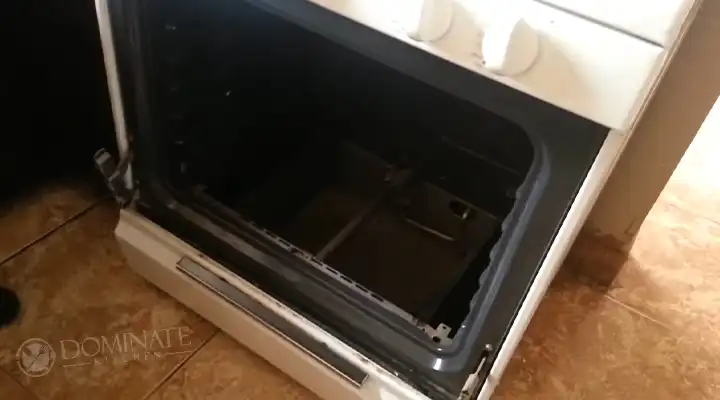
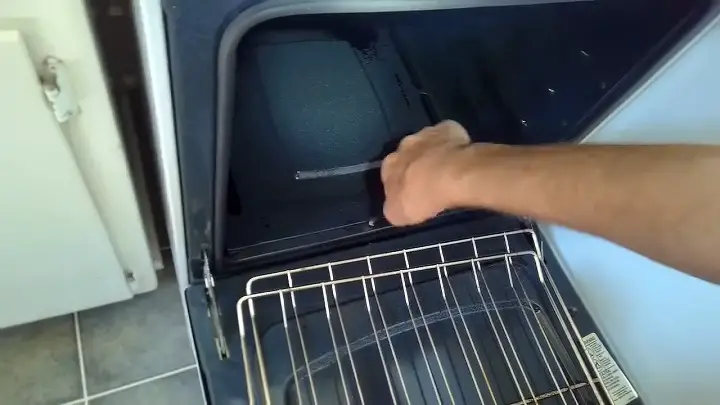
Step 1: Removing the Oven Door and Shelves
- Start by ensuring the oven is completely cool. Safety is a priority.
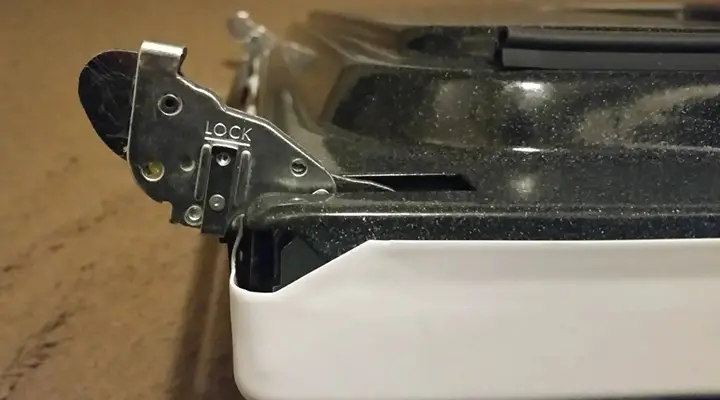
- Open the oven door fully and locate the hinges or clips on both sides where the door connects to the oven.
- With the door fully open, lift and engage the door hinges or unlock the clips. The exact method may vary depending on your oven model. Refer to your oven’s manual if needed.
- Carefully lift the oven door upwards and remove it. Place it in a safe location.
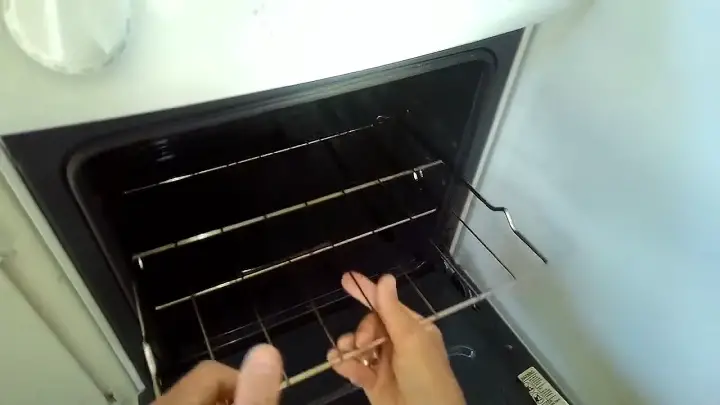
- While the door is off, remove any oven racks or shelves that might obstruct your access to the pilot light area.
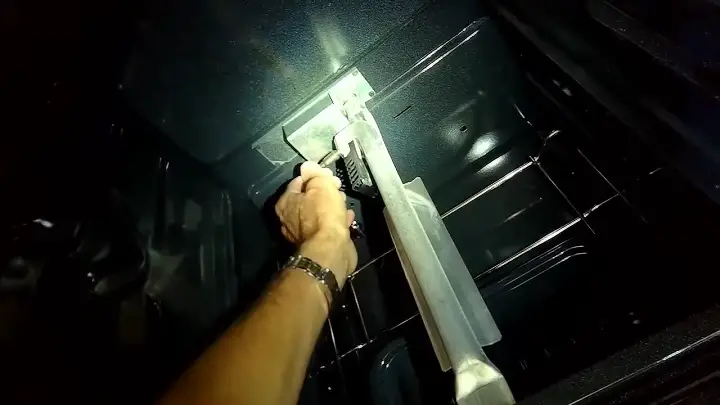
Step 2: Removing the Oven Bottom
- To access the pilot light, you’ll need to remove the oven bottom. Locate the nuts positioned near the back end of the oven’s bottom panel.
- Use a suitable tool (like a wrench) to loosen and remove these nuts. Be cautious not to damage or strip them.
- Once the nuts are removed, grasp the bottom panel. You’ll find finger grooves on either side to help with this.
- Carefully lift the bottom panel upwards to disengage it from its position.
- Slide the bottom panel out of the oven, creating an opening to access the pilot light area.
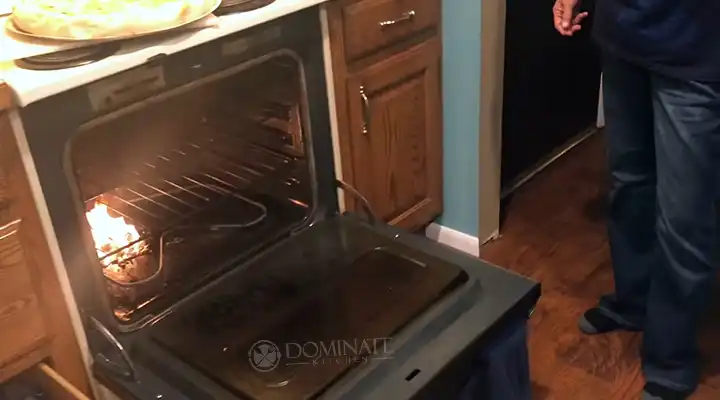
Step 3: Locating the Pilot Light
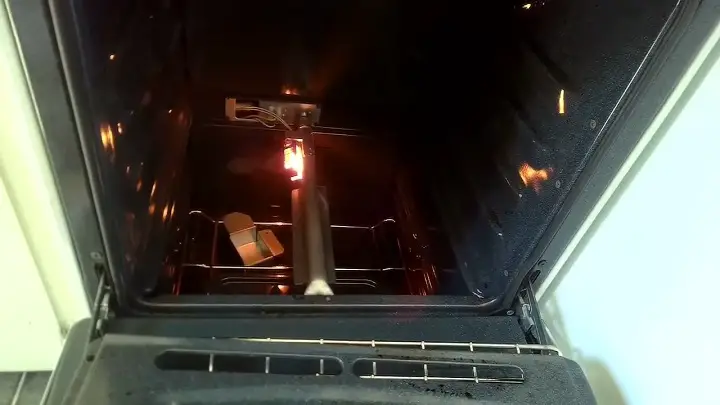
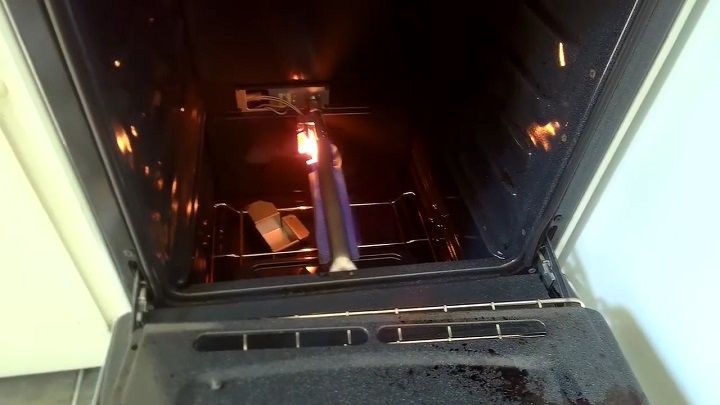
- Now that you have access to the pilot light area, locate the pilot light itself. In most Hotpoint ovens, it’s positioned at the connection of the burner on the rear of the bottom panel.
- To ignite the oven’s pilot light, you’ll need to press and hold the control knob in place.
- Keep holding the control knob for at least another minute after you’ve managed to get the pilot light lit. This is important to ensure that it stays lit.
Step 4: Reassembling the Oven
- After successfully lighting the pilot light, it’s time to reassemble the oven.
- Carefully slide the bottom panel back into the unit, ensuring it’s properly seated.
- Reattach and tighten the nuts near the back end of the bottom panel.
- Replace any oven racks or shelves that were removed earlier.
- Reinstall the oven door. Align the hinges or clips properly and lower the door into place.
- Secure the door by locking the hinges or clips.
- Make sure everything is securely in place and properly reassembled.
Step 5: Setting the Temperature
- Once your oven is fully assembled, it’s time to set the desired temperature. Turn the oven control knob to around 260 degrees Fahrenheit (or the desired temperature for your cooking needs).
- The oven burner should automatically light and continue to burn until it reaches the selected temperature.
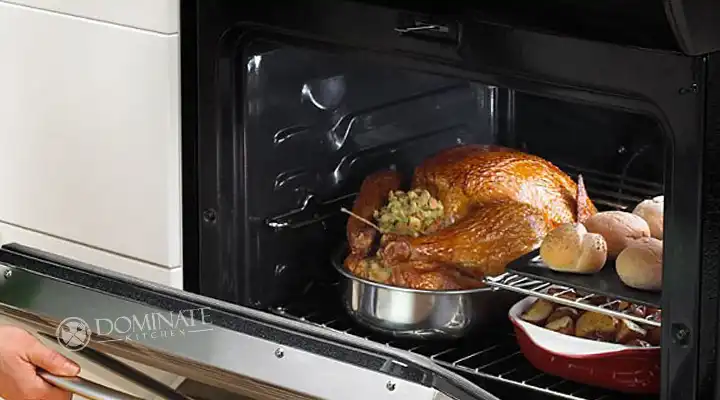
- You’re now ready to use your Hotpoint oven for cooking.
These step-by-step instructions should help you safely and effectively light the pilot in your Hotpoint oven and have it ready for your cooking needs. Always prioritize safety and consult your oven’s manual for model-specific instructions if necessary.
Alternative Methods for Lighting the Pilot Light
While the steps mentioned earlier are the most common way to light the pilot light in a Hotpoint oven, there may be situations or oven models that require different approaches. Here are a couple of alternative methods you can try:
1. Surface Burner Method:
- If you own a Hotpoint oven, it might have a surface burner that you can use to light the pilot light.
- Start by ensuring that all burner control knobs are set to “Off” to prevent any gas leakage or accidents.
- Lift up the cooktop of your Hotpoint oven. You can typically do this by locating a latch or handle and raising it.
- Once the cooktop is lifted, you should be able to see the pilot lights for the burners.
- Use a long-stemmed lighter or a match to carefully light the pilot lights. It’s essential to do this safely to avoid any accidents.
- Light both pilots in the center of the range, between each set of burners.
- This method should work well and ensure that your Hotpoint pilot light is lit correctly.
2. Using a Match in Case of a Power Outage:
- In most modern gas ovens, electronic ignition systems have replaced traditional pilot lights. However, if the power goes out, you may need to use a match to light the oven.
- Hold a lit match to the top burner and turn the burner control knob to the low-flame setting.
- This will ignite the burner with the match’s flame.
- Be cautious when using matches in this way, and always ensure that there’s proper ventilation in your kitchen to disperse any gas buildup.
- Some older oven types with standing pilot flames may continue to function in case of a power outage. These ovens rely on capillary hydraulic pressure to activate the gas valve physically.
- However, if your oven relies on electrical sensors to activate the gas valve, it will not work without electricity.
Additional Tips
- Regardless of the method you use, prioritize safety. Ensure that there’s no gas buildup before lighting any flames, and always use long-stemmed lighters or matches to avoid burns.
- If you’re unsure about your oven’s specific requirements or if you encounter difficulties with any of these methods, consult your Hotpoint oven’s manual or consider seeking professional help to ensure safety and proper functioning.
These alternative methods can come in handy when dealing with various Hotpoint oven models or during unexpected situations like a power outage. Always prioritize safety, and if you’re uncertain about your oven’s specific requirements, consult your oven’s manual or consider professional assistance.
Frequently Asked Questions
What are the reasons a pilot light goes out?
Pilot lights can go out for a variety of causes, including loose or damaged gas valves, thermocouples or heat exchangers, improper venting, insufficient gas pressure, or strong winds. If you suspect a significant condition, don’t hesitate to get expert help.
How do I turn off the pilot light in my oven?
To turn off the stove’s pilot light, you’ll need to flick a switch from ON to OFF. There should be no gas coming to the cooktop or oven pilot light after that.
How do you light a gas oven without a pilot?
Due to the usage of piezo-electric ignitors, modern ovens, gas ranges, and water heaters do not require a pilot light. As a result, you’ll need to look for a button to click to turn on the oven. So simply crank and press the knob, then release and adjust the temperature a few seconds after the fire has kindled.
Summarize
In conclusion, lighting the pilot light in your Hotpoint oven is a manageable task when following the provided step-by-step instructions. Safety is paramount, and the process requires caution. While it may seem daunting, the right knowledge and precautions make it feasible. Always prioritize proper ventilation, use long-stemmed lighters or matches, and be vigilant for potential gas leaks.
If you encounter difficulties or feel uncomfortable, seek professional assistance to ensure both safety and your oven’s proper functionality. This guide aims to equip you with the confidence and know-how to light your Hotpoint oven pilot light, enabling you to enjoy the convenience of a fully operational oven.