How To Change Time On Whirlpool Oven | As Easy As You Like
Whirlpool is a popular brand that produces many digital ovens, which many people have in their kitchens. We don’t need to mention, a brand new Whirlpool oven always comes with a user manual. However, if you received a Whirlpool oven as a gift or purchased one used, you may not have the manual. Besides, the instructions that came with it may not help you because of the complexity.
As a result, many people find it hard to figure out how to change the time on Whirlpool ovens, and sometimes they fail to do it after multiple tries. Luckily, changing the time on your Whirlpool oven is easy once you know what to do. And, that’s the reason why this article focuses on the simplest way of changing the time in your Whirlpool oven.
How To Change Time On A Whirlpool Oven?
You already know that Whirlpool ovens are popular because they are easy to use and come with a wide array of features. However, they do have some quirks that you need to understand when working with the time settings on them. Luckily, it’s not too hard once you master the process. Just follow these steps for changing the time on your Whirlpool oven:
1. Prepare the Oven for Timer Setup
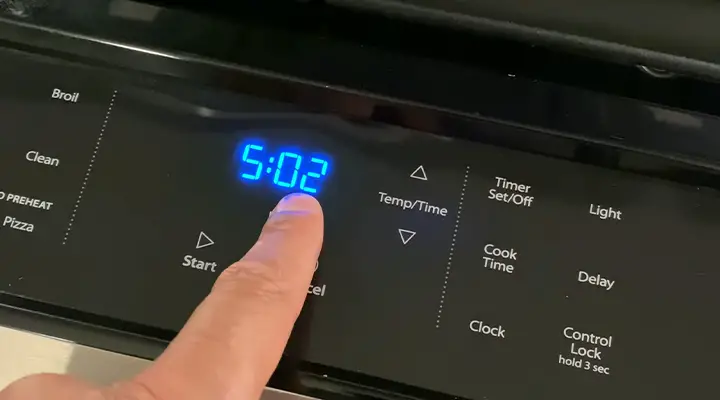
In the first place, open the oven door. Press the “Control Lock” button if the control lock is turned on. The display will be turned off if it was previously activated. Otherwise, it will remain lit.
2. Turn off the Display
Press the “Clear/Off” button to turn off the display. You cannot move on until the display is turned off.
3. Press the “Bake” or “Broil” Keypad to Reach Your Desired Time
Use the keypad to enter your desired time for cooking your dish. The oven will automatically switch between the “Baking” mode and the “Broiling” mode when it reaches the pre-set temperature. If you don’t know how long something needs to cook, then use the “Timer” feature instead of manually entering a time.
4. Use Another Keypad to Display the Chosen Time
To set the time by pressing another keypad, such as “Start”, press it or any other menu key until you see your chosen time displayed on the electronic clock and the time of day. After pressing “Start”, wait for a few seconds for the oven to begin heating up. Then, press any other button to return to normal operating mode.
5. Change the Time According to Your Needs
To change the time on your Whirlpool oven, open the door and turn the clock dial to make any changes you want. If you’re making a recipe that calls for a specific temperature and time, it’s also important to set these correctly. Once all of this is done, close the oven door and start cooking!
How To Reset Time On Whirlpool Oven?
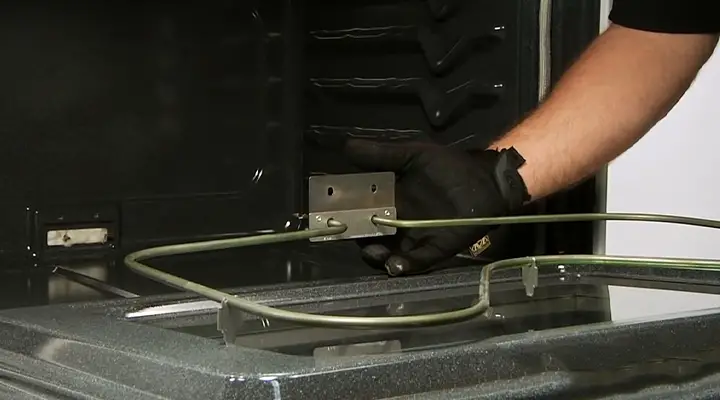
The process is very simple when you want to reset the time on your Whirlpool oven. The first step is to unplug the appliance from the wall outlet. The next step is to remove all food from the oven, including racks and trays. Now take off the front panel of the oven by removing all screws from it.
After removing all screws, you have to pull out the front panel from its bottom edges gently. You will notice four clocks on the main control board, one for each cooking mode.
To reset the time on the Whirlpool oven, you have to press and hold down the ‘Set’ button for five seconds while pressing down the ‘Start/Pause’ button at the same time while counting in your mind. Then release both buttons and wait for three minutes. Repeat this process if necessary, and then replace the front panel back into its place by following the steps mentioned above in reverse order.
Why Does Time Keep Changing On Whirlpool Oven?
When time keeps changing on a Whirlpool oven, you may not finish cooking your food, and sometimes the food may get burned due to the longer cooking process. If you set the timer for 30 minutes and the oven turns off after 20 or 40, it could be because of one of the following:
The thermostat is defective. The thermostat controls the temperature in your oven, so if it is not working correctly, it will not allow your oven to heat up to the desired temperature. This may cause your timer to stop working properly.
Or, the control board is faulty. The control board sends signals to all of the components in your appliance so that they can work together properly. If this component malfunctions, it can cause problems with other parts of your appliance as well as give off an error message when you try to use them.
Last Words
We hope that this little guide has been helpful in getting your oven up and running using the correct time. Not to mention, it is important to have an accurate clock on your oven so that your food comes out properly cooked every time. You can set the clock on your Whirlpool oven by using the buttons on the front of the stove.
When changing or setting a time, make sure to use a soft touch as you will be pressing several buttons at once. Turn off your oven and unplug it from its electrical source if not already done so before changing the time. Press ‘#’ to enter programming mode, which may be labeled differently depending on the model. The display will show ‘Prg’ with an arrow pointing upward next to it, indicating that you are in programming mode. At last, you are ready to begin programming your Whirlpool oven’s clock to change time.