
How to Set Clock on KitchenAid Oven? 4 Straightforward Steps
If you are eager to know how to set a clock on your KitchenAid oven, you are in the right place. No worries, it is just a piece of cake, I will guide you in a very straight and simple way.
Furthermore, it is not necessary to ask this question to your friend. Rather, when you will read the following guidelines thoroughly, you can instruct them if they need help someday!
Besides, for an ideal cooker, one must know the procedure to set the clock on the oven first.
Since there are many kinds of KitchenAid ovens, you must grab the one that will be appropriate for you. Then with the following guidelines, you can easily understand the method of setting a clock on your KitchenAid oven.
Setting A Clock on KitchenAid Oven
The oven may not run properly without setting a clock on it. Therefore, this is why it is so important for you to set a clock on your oven that can be easily understood.
Here are the step-by-step procedures for you.
First Step
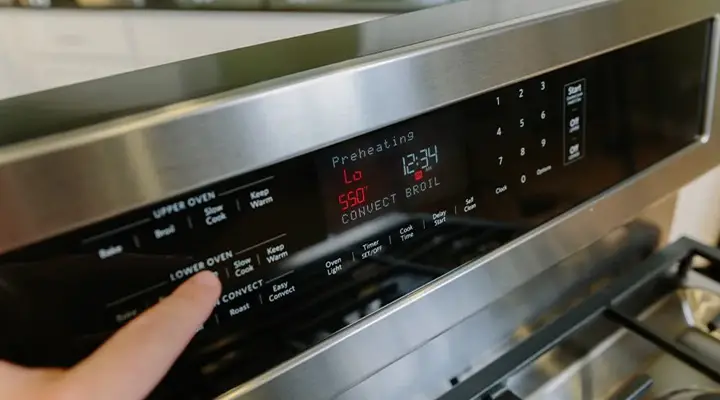
At first, you have to press the “clock” or ‘Tool’ button on the oven. It is the first and initial task you have to do.
Second Step
After pressing the clock or tool button it is time to press the key ‘1’. this is your second step to do.
Third Step
Then you have to set a time for it.
Suppose, your time is 3 p.m. Then you have to press on 3, 0, and 0 gradually.
Fourth Step
The fourth and last step is here. After setting the time of the day you will touch the ‘Start’ button to set your clock on the KitchenAid oven.
These are the smartest and easiest process with which you can set a clock on your KitchenAid oven.
Frequently Asked Questions
How Can I Reset My KitchenAid Oven?
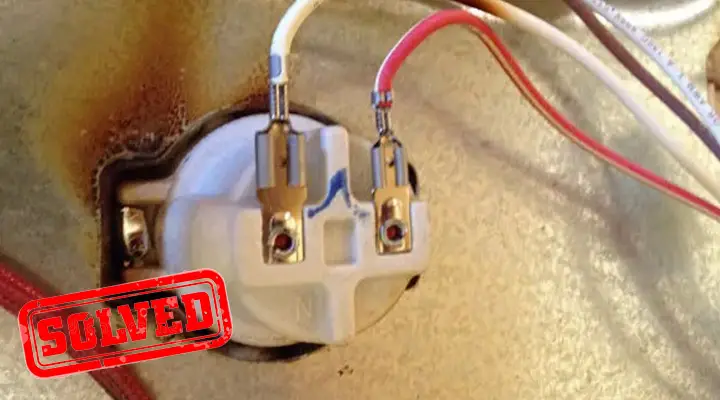
For resetting a KitchenAid oven, it is first necessary to turn the “circuit breaker” to “switched-off” mode. Then it is time to wait for just one minute.
After waiting one minute, please turn the “breaker” to “switched on” mode for resetting the oven properly.
What Are the Tricks with Which I Can Keep My Meal Warm in My KitchenAid Oven?
To keep your meal warm in the KitchenAid oven you have to press the “cook time” button first. After that, please press the number keys for setting an extension of time to warm.
Moreover, the next process is to press the power button and then you have to touch on the “1 key” for setting the cooking power at ten percent. Thereafter please press the “start” button.
If you would like to stop it or erase the display then open the door or press the button “off”.
Conclusion
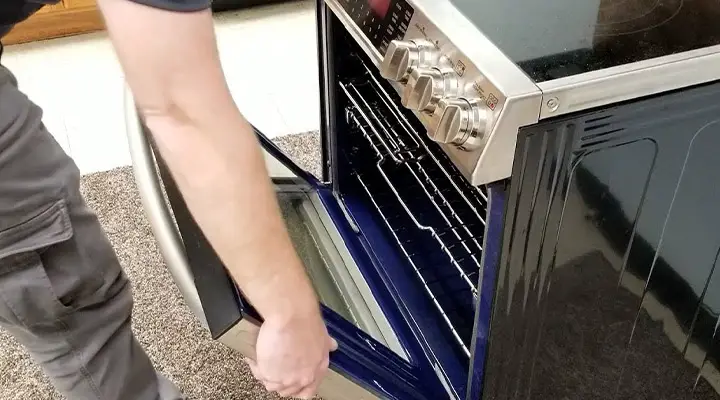
Since the oven is an essential thing that makes our everyday life comfortable and easy, we should maintain the oven in the proper ways. Sometimes, it is necessary to know how all the functions of an oven work to operate it effectively.
Besides, you should keep in mind that it is possible to set a clock on the KitchenAid oven only when the microwave and the lower oven are not processing your food. You have to be sure that your timer is not counting down at the moment when you want to set the clock in the oven. Otherwise, it may not be possible to set a clock on the oven.
After setting time, why does it say , demo mode.
Retail stores use Demo Mode for product displays. It is possible to demonstrate an oven in this mode without any power. You can operate the unit if the display screen says “DEMO MODE PRESS ANY KEY.”
Press the [Timer/Clock] button 3 – 5 times, depending on the model. When separate, press the [Clock] button 3 – 5 times. The display panel will turn black if successful. Now again, set the time as per your requirement. Thank You
After I set the time on the clock on my Kitchen Aid Stove, it displays the message: Energy Saver Deactivating and then the time I set goes away. I want to put the correct time of day and have it stay on all the time. I do I accomplish this please?
you have to deactivate the Energy saving mode first. To Deactivate the Energy Save Mode:
Press and hold SETTINGS/CLOCK for 3 seconds. “Energy saver off” will appear in the display.
The clock will reappear in the display and the range can be operated as usual.