The Broiler Works But The Oven Does Not | Solution
Electric ovens are ideal for typical families since they are very practical and include a variety of cooking options, including broiling, grilling, and roasting. The bake element and broiler of the electrical oven work together to ensure that the food is cooked through. Nevertheless, we are offering some remedies when your broiler is operational, but the baking function is not.
The Broiler Works But The Oven Does Not (Reasons and Solution)
Faulty Igniter
The igniter is probably broken if the bake function operates but the broiler doesn’t seem to. The gas valve is opened and ignited with the igniter. You must check the ignition coil for damage or burn. It is on the rear of your oven.
An inoperable igniter won’t be capable of drawing electricity, which is necessary for warming the oven; hence, no flame will be produced. You must insert the multimeter’s wires into the igniter’s contacts to test the igniter.
A functional igniter must measure between 10 and 2500 ohms. It is advised that you change the igniter when the multimeter isn’t working. Follow the instructions further to fix the igniter.
- Disconnect the oven, then remove the storage drawer.
- Locate the igniter inside the oven compartment, then remove the nuts holding it in position.
- Replace the faulty igniter with a fresh one.
- Then, using nuts & screws to secure it, insert it into the storage box, and try using the bake function.
- You can employ an electrician if you lack the necessary skills.
Connection Of Wires
The oven’s bake component has its wiring. Since broken wires won’t be capable of carrying electricity to the component, you should check the bake element’s wiring if the bake functionality isn’t functioning. The wires need to be changed if they are broken.
Charred Wire
The best approach to make certain that the wires are functioning is to use a voltmeter because burned wires aren’t always obvious when they’ve been damaged.
Heating Fuse
Inspect the thermal fuse whether the wires for the baking element are operating normally. Connectivity issues can lead the thermal fuse to burn out, which interrupts the electricity supply to the component and degrades efficiency.
Simply said, if there isn’t enough power supply, the bake functionality won’t function. As it helps determine the temperature source, the thermal fuse opens the circuit once the oven temperature is too high. The thermal fuses can track and manage the heat, but if it blows, it won’t do so, which causes problems with the bake functionality.
Use a multimeter to check the heat fuse’s response; a negative reading indicates that its thermal fuse has blown, and the only fix is to replace it. The amperage of the thermal fuse must match that of the old one.
Sensor for Temperature
The thermometer is in charge of keeping track of the temperature and modifies the resistance in response to the outside temp. The sensor is wired to the controller, which detects alterations in the resistance inside the detector and responds appropriately.
The temperature sensor specifically reacts by shutting or releasing the relays and turning the heating components on or off. The bake component won’t switch on if the thermometer is broken since it won’t be able to detect variations in resistance. We advise hiring an electrician and having the thermometer examined for this reason. You must repair the thermometer if it is malfunctioning.
Heating Component
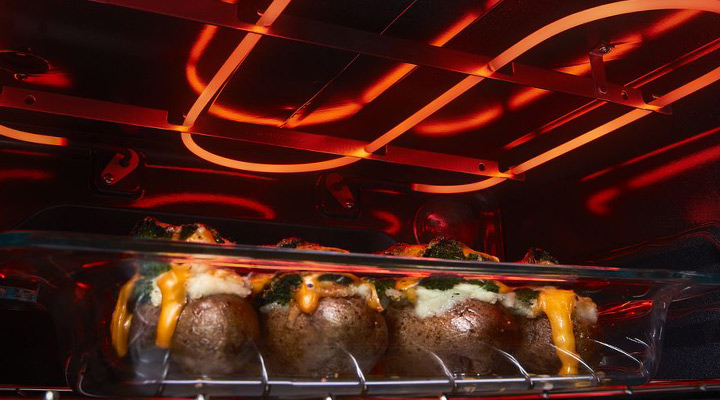
Another potential cause of a broken bake feature is a failed heating element. The oven has a secondary bake element, which can be tested by determining whether it lights red.
Warm the Oven up
You must specifically switch on the oven and find the bake component; if the bake element is red, everything is in order. Nevertheless, you need to change the bake component if it fails to turn on or light.
Ensure the bake element is changed right away because damaged bake elements also have blistering and obvious cracks. Additionally, we advise you to verify the currency of the baked component using a multimeter.
Power Problem
For the electric ovens to function effectively, 240V of AC across two legs in voltage is required. So, the bake component won’t get the electricity it needs to warm up if one leg is cut off from a blown fuse and tripped breaker.
Because of this, you must make sure the breaker is switched and that the blown fuses are replaced. Inspect the electronic circuit to make sure it’s producing adequate electricity and if the breaker or fuse is in good operating order.
A volt meter may be used to inspect the power strip. The volt meter must be set to the Volts AC option, and the measurement must be 240V. The plug has to be fixed if the result is below 240V since it indicates damage.
Temperature-Sensing Bulb
The bulb, which controls the thermostat’s connections, is supplied with a fluid that swells when the temperature goes up.
To guarantee that the thermostat controls the heat and the bake function activates, the thermostat detecting bulb must be repaired or changed if it is cracked or leaking. Because the detecting bulb operates electrically, you must measure the resistance. The resistance of the detecting bulb may be checked with a voltmeter; the measurement must be 1100 ohms. The bulbs must be changed if the impedance differs.
Control Board
An oven controller is in charge of transmitting signals to various oven components. The controller won’t be able to deliver a signal to the baking component if it is damaged.
Oven Control Panel Conserve
Inspect the oven’s controller and check any burned-out or shorted parts to resolve this issue. It is advisable to repair any components that appear to be damaged. Nevertheless, it is preferable to replace the complete control panel if the bulk of the parts and ICs are harmed.
Thermostat
The components for broiling and baking are controlled by the thermostat. It contains connectors that deliver electricity to the bake as well as broil components and is heat controlled.
Therefore, if the thermostats get destroyed, the oven won’t work, and the bake function may also be affected. Use these steps to inspect your thermostat;
- Find the thermostat (it is often located near the control center, you can always consult the instructions to find it) and then turn off the oven.
- Plug the voltmeter probes into a terminal of the thermometer after setting the voltmeter to the RX1 reading.
- The thermostat has to be changed if the read is negative or negative because it is broken.
Selector Switch
You may adjust the oven temperature with the selection switch. Consequently, if you pick the bake feature but it doesn’t work, the switch is probably broken and unable to adjust the options.
Find the thermostat first, then remove the selection switch by pulling off the dial. The switch s1 is often found with the thermostat. After removing the selection switch, get a replacement and reinstall it.
Calibration of Temperature
If the bake function is still not functioning, the heating rate probably needs to be adjusted. The heat knob’s rear has a calibration dial that users may use to change the thermostat settings.
It is advised to spin the dial in a clockwise manner to raise the heat. A half-turn of the dial raises the heat by 20 to 25 degrees F.
Relays
Relays are used to measure oven temperature using a thermometer.
The bake functionality may potentially stop working as a result of a faulty relay. If so, use an ohmmeter to check the relay again for the bake component; if it reads zero, the relay is broken and has to be changed for the bake function to function.
Conclusion
Several issues might be at work if the electric oven isn’t baking even while the broiler is on. In this post, we’ve examined each of those issues and their simple fixes. If you are lacking understanding and skills, think about consulting a professional.